


The MeatStick Smart Meat Thermometer Review
Back in January, I reviewed The Meater, a smart meat thermometer that includes probes and a display that helps to let you know when you’re meat is ready. This includes cooking meats in the oven or using a smoker. A little big ago, one of “The MeatStick” representatives reached out and asked if I could provide a fair review of their meat thermometer. I told them I would and they sent me one of their devices.
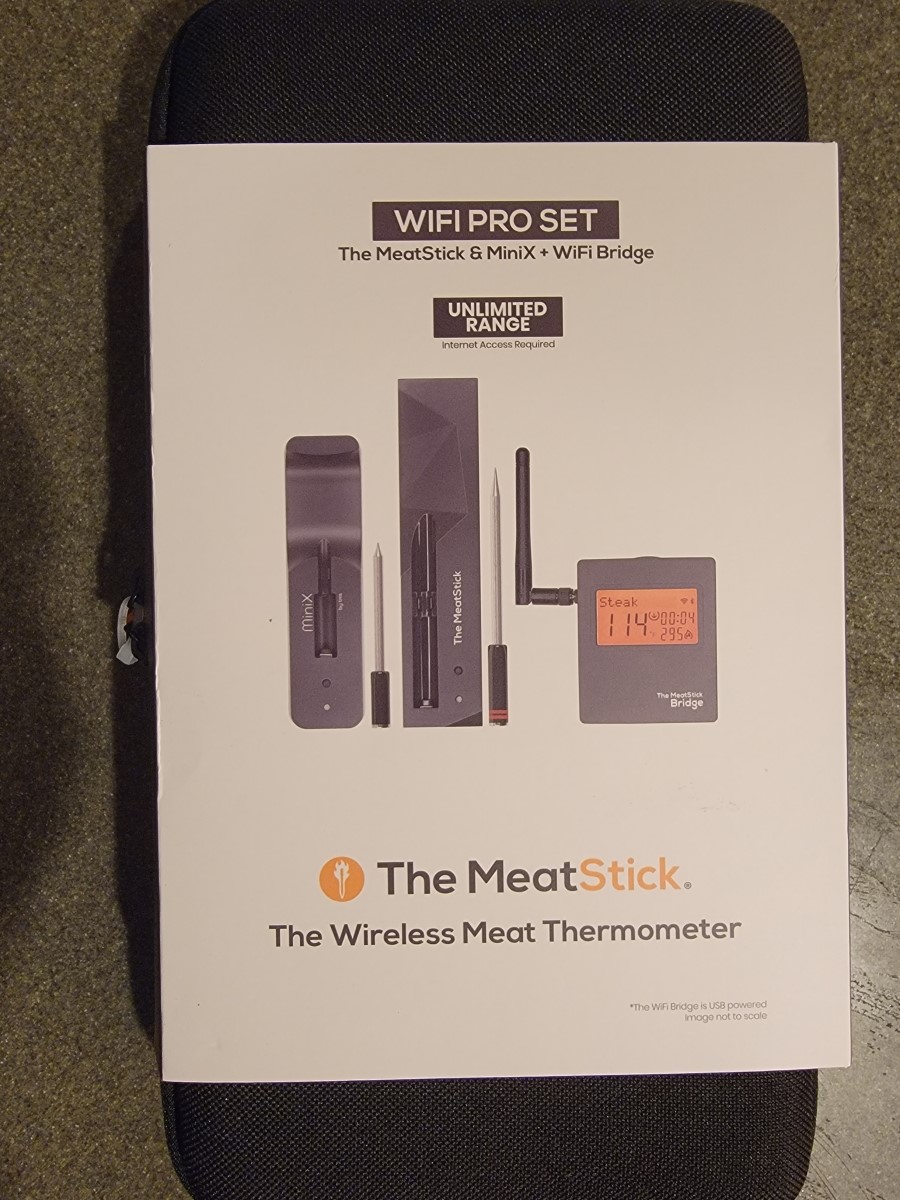
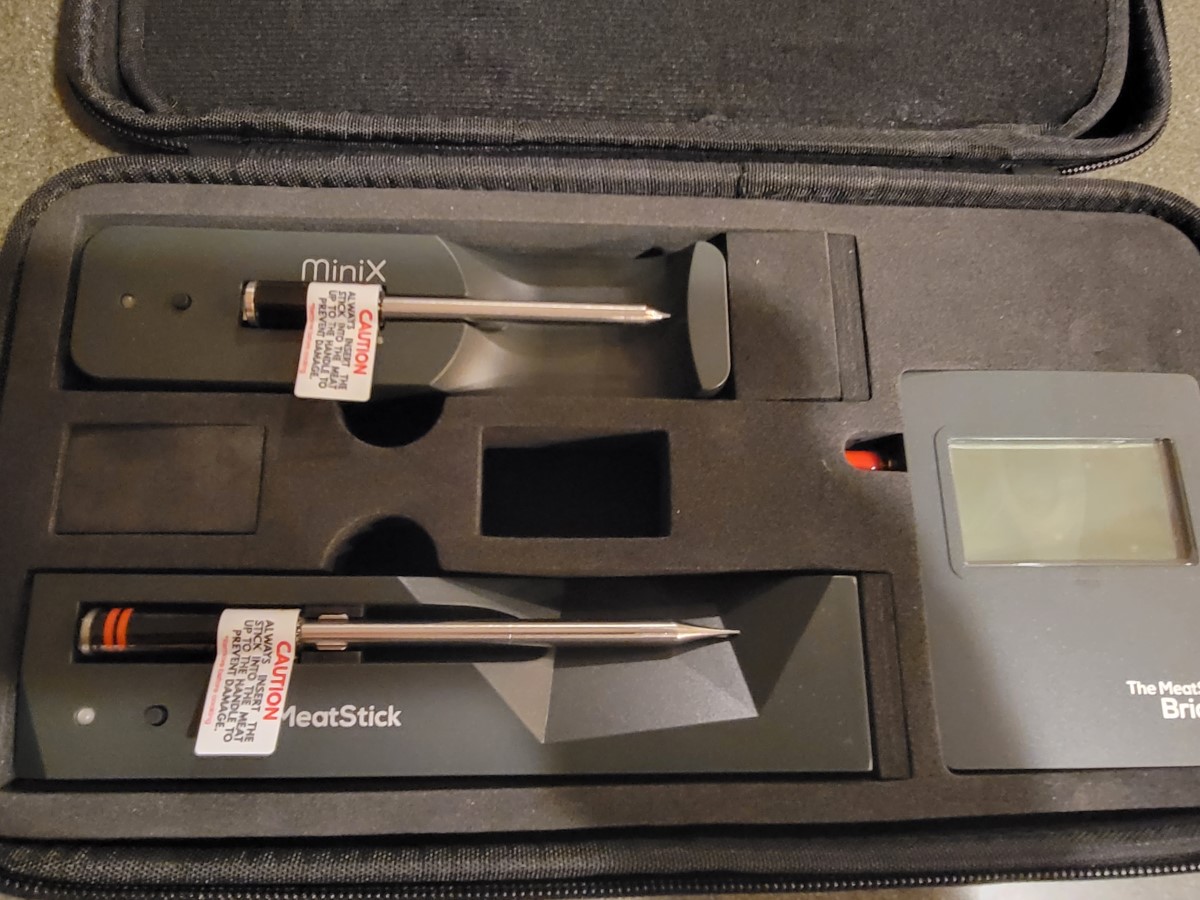
Compared to The Meater, the packaging seemed to be much more generic. Instead of a bamboo block, they use a zippered compartment. However, I knew that the packaging itself does not define the thermometer – it’s what’s on the inside that counts. So, I proceeded with the unboxing exercise:
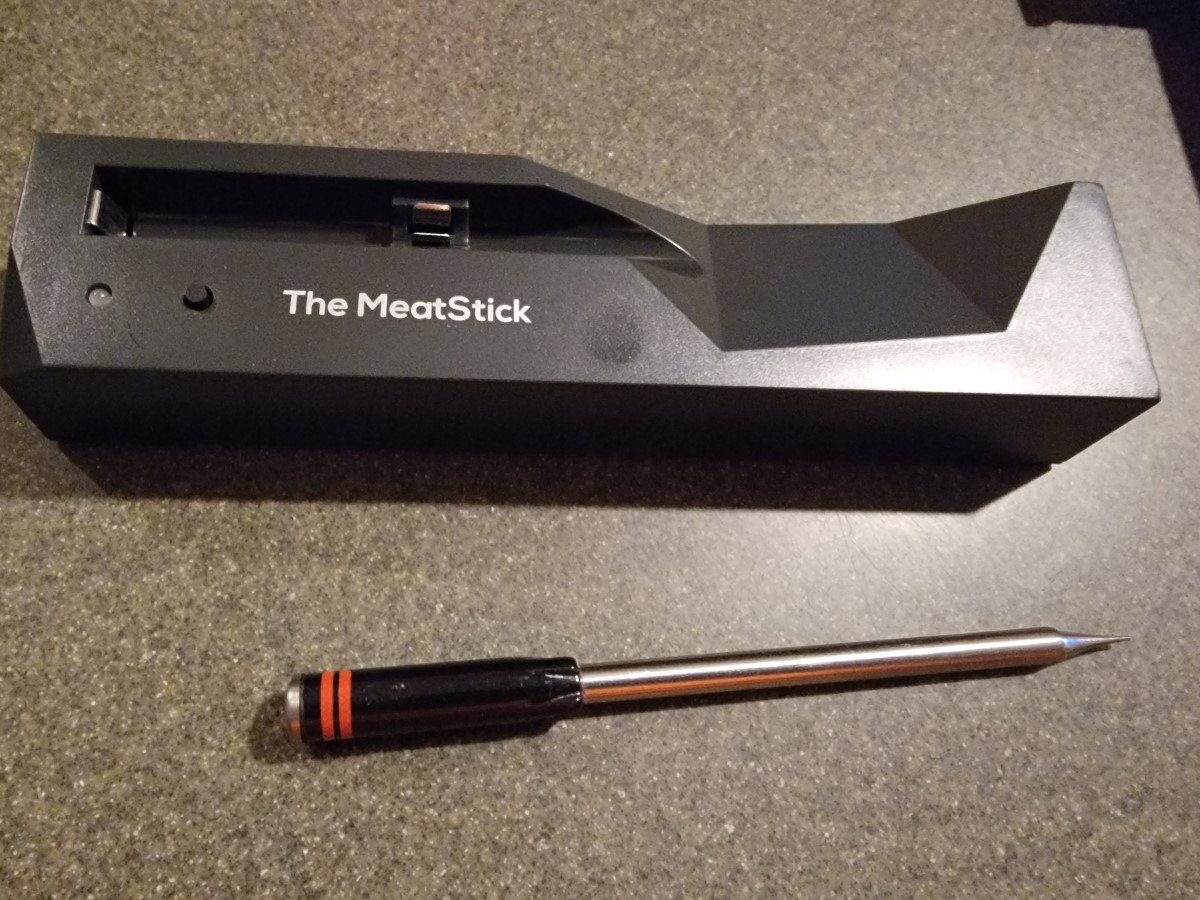
The OLED display seemed to be different than The Meater, but I couldn’t tell if that was good or bad. I’ll cover that soon. I wanted to use it with my first cook, but the probe needed to be charged for four hours.

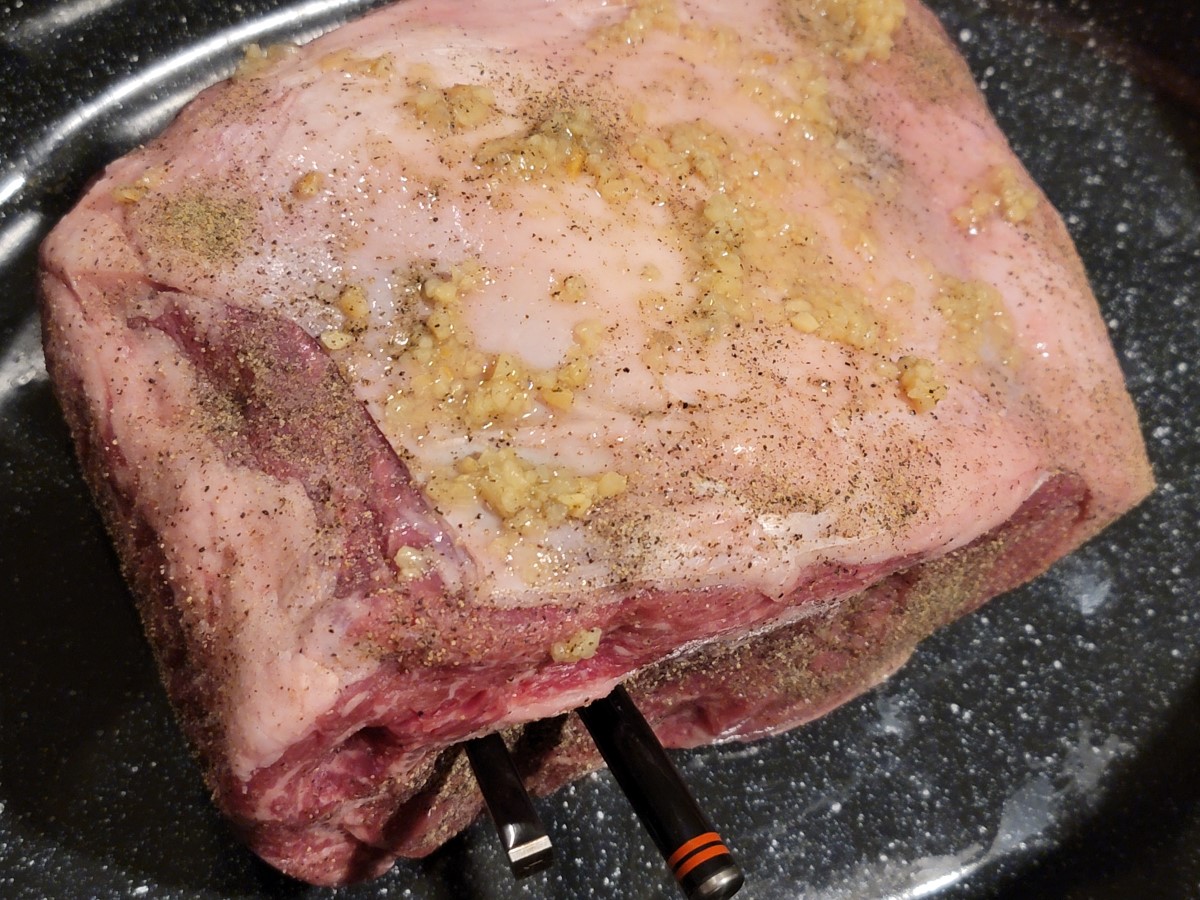
So, I was bummed. Some time passed and I knew I wanted to get back to testing out The MeatStick. I decided that I would try around a 5 pound boneless prime rib and that I’d insert The MeatStick right next to The Meater.
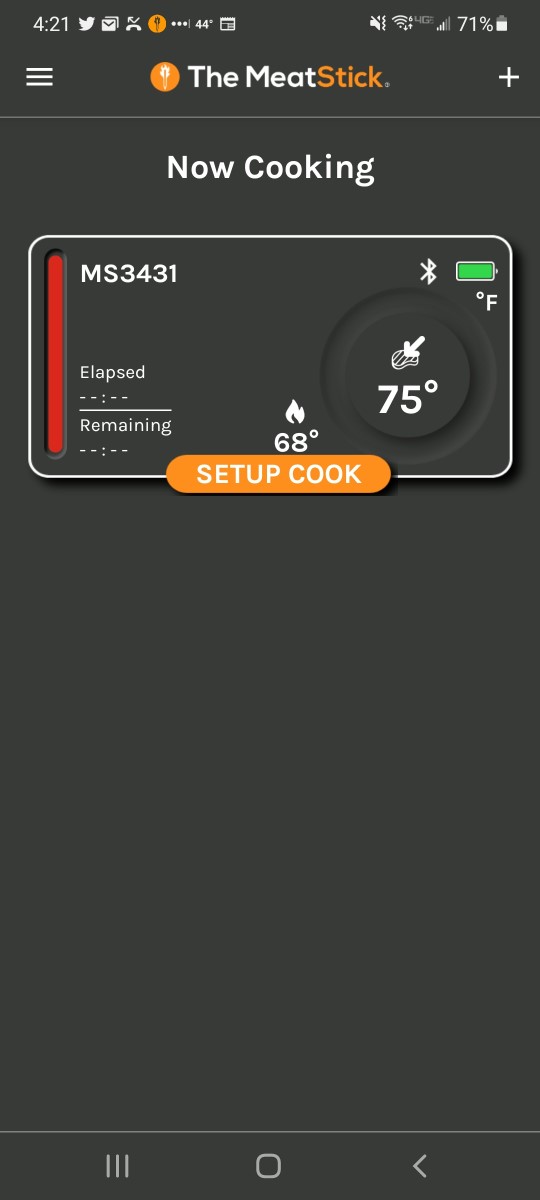
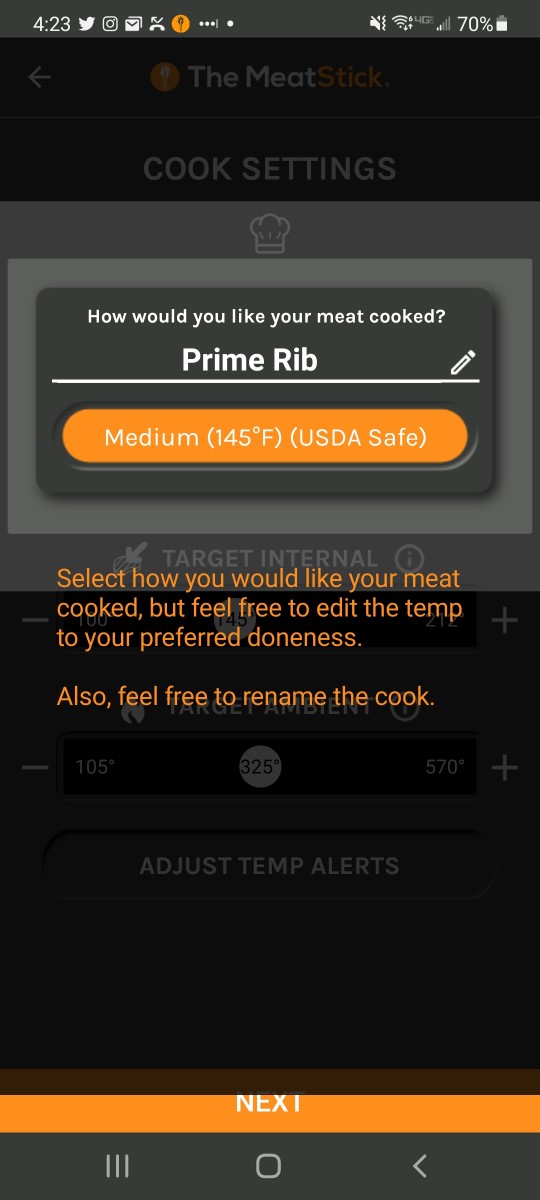
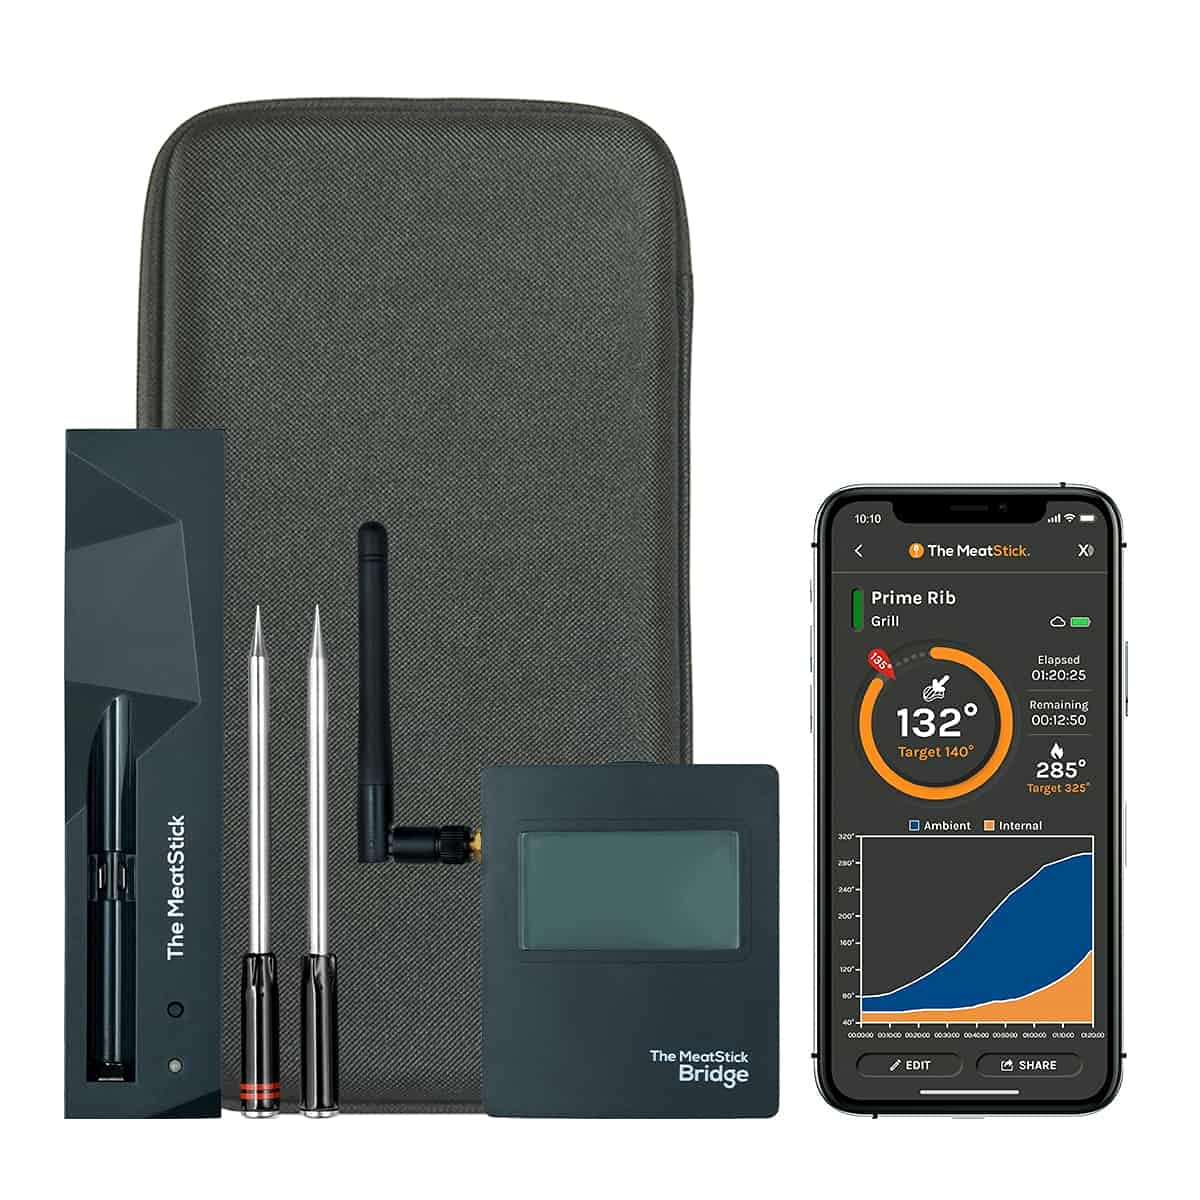
I booted the apps for each, set the cook accordingly, and continued. While there are little things I dislike about the UI for each, I don’t mind either app. Below are several screenshots representing the process of setting up The MeatStick to cook appropriately:
Now that the software is setup, I wanted to see how the initial screens with ambient and internal temperatures compared:
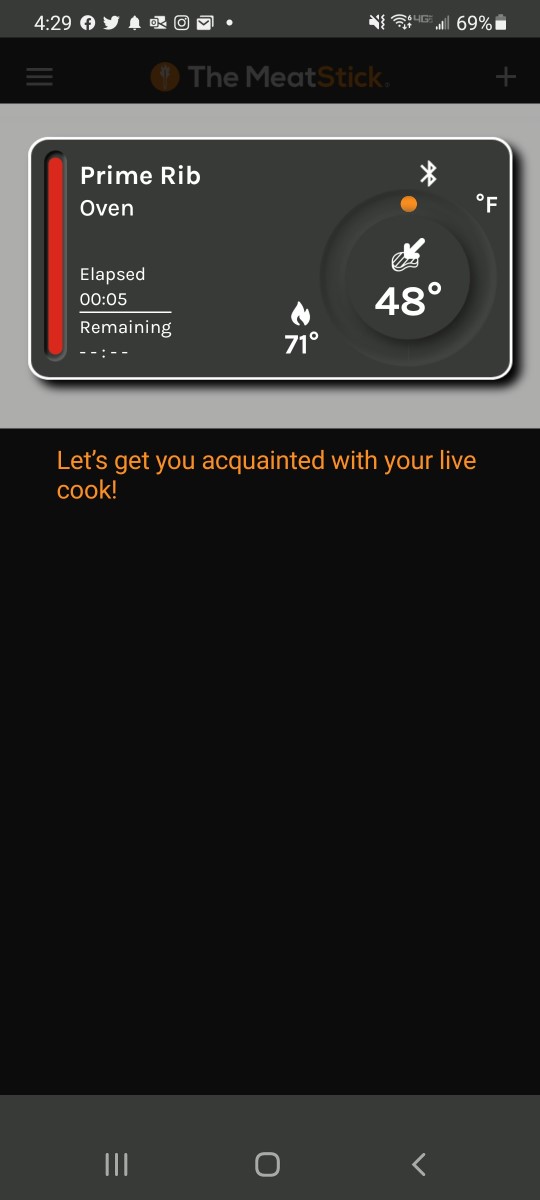
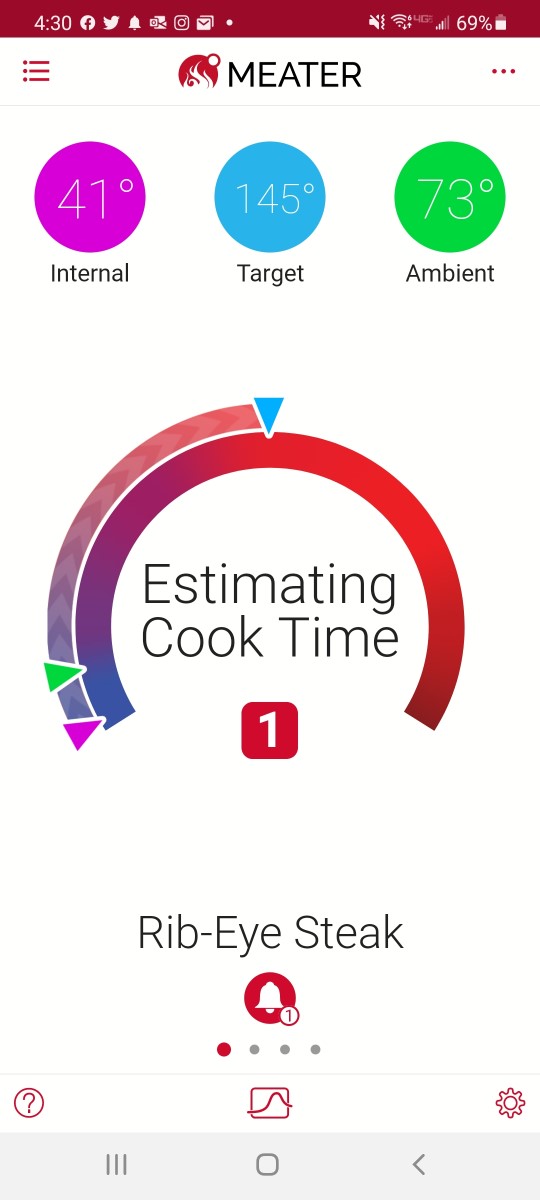
As you can see, the temperatures are different. It’s not perfect, but they’re close enough that I continue. For what it’s worth, using an older Weber digital thermometer, the meat was actually reading 43 degrees. I also checked the room temperature from Nest which was reading 71 at the time.
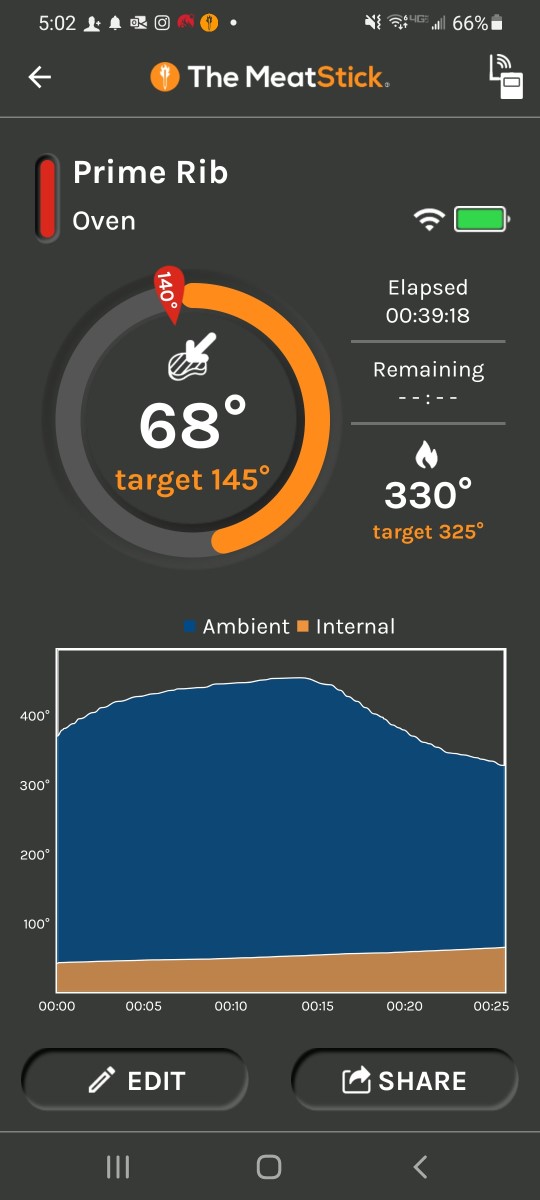
Off to the oven the meat went. When I cook prime rib, I roast at 500 for 20 minutes and then drop to 325 for the next 60-75 minutes. The screenshot below was after I dropped the oven temperature:
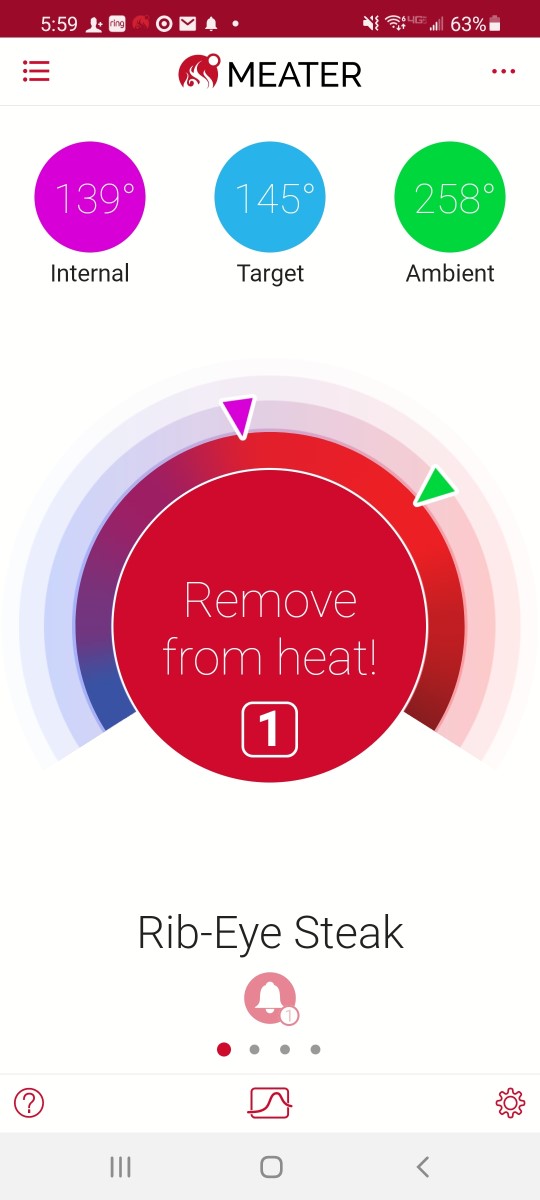
Right on time, I started getting alerts. The first alert was from The Meater which informed me that I was approaching the right temperature and remove from the head:
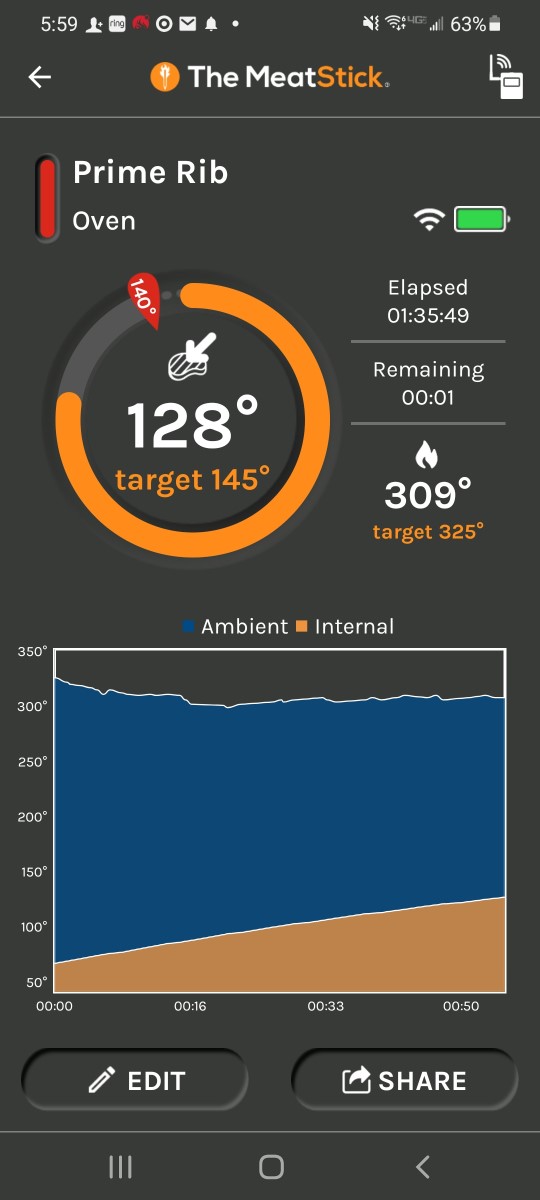
Immediately following the alert from The Meater, I hopped into The MeatStick software to see what it said. According to the software, it was reading 11 degrees cooler and had a minute left:
I removed the meat from the heat source and let it rest for 5 minutes.
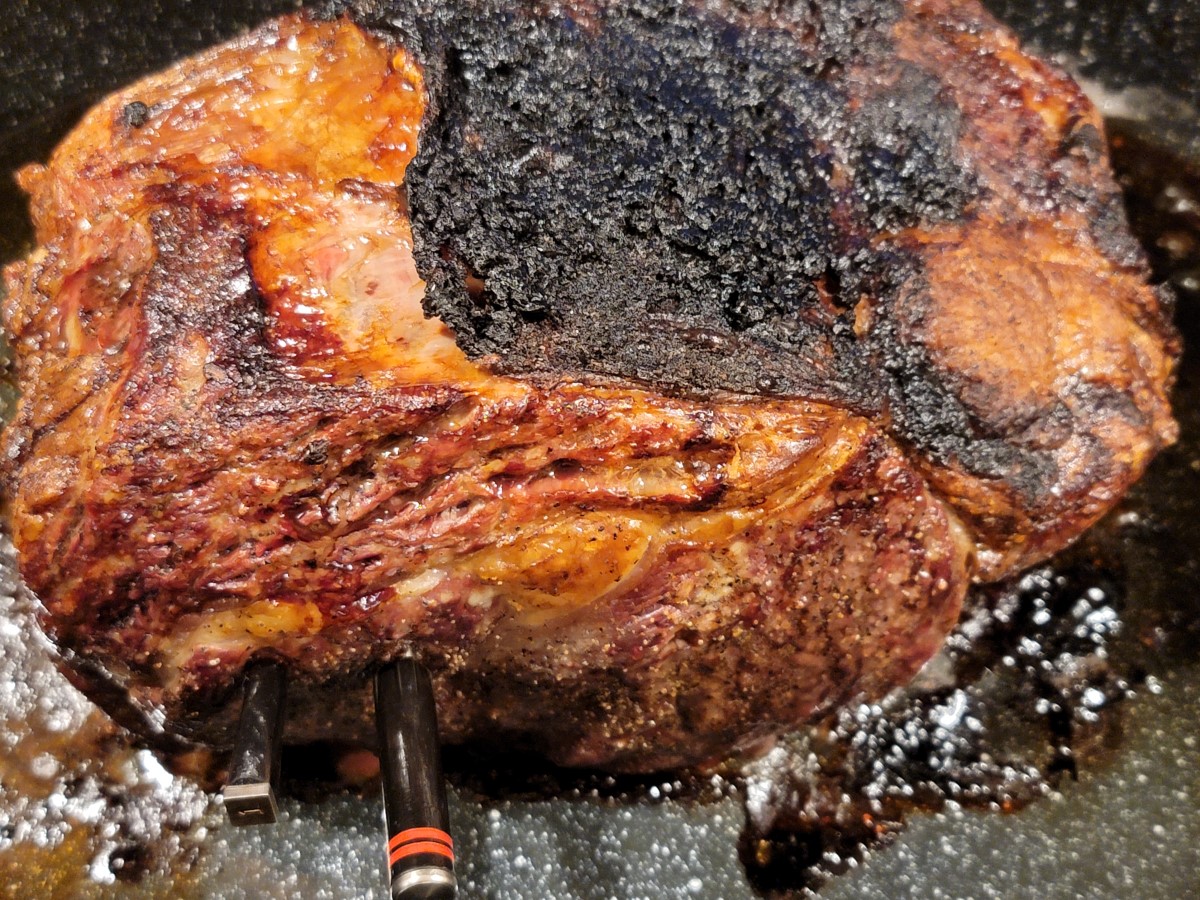
The meat came out medium and exactly the way everyone can enjoy (most of us prefer it more rare, but we need to please all).
It was now time to complete the review. Overall, on a scale of 1.0 to 10.0 where 10.0 is the highest, here are my scores:
Value
7.9
Features
7.9
Overall
7.9
Recommend to a friend?
Yes
While the scores are not as high as Meater, The MeatStick is still something to consider. The MeatStick starts as just $69 matching the original Meater price. However, the set I tested is at a price of $199.99 and can be purchased here.
Other Product Reviews
Interested in other products I have reviewed? Check out jasongaylord.com/tags/#review. I do not get paid for any product review that I do. Each review is an honest opinion of the product.