


Enabling File Access in Universal Windows Apps
I was working on a new app that I’m going to introduce into MyLightDisplay this year. The idea behind the app is that I’d use another app that I have to output the current status of the light show. Based on the status, I’d kick off a corresponding video for the display.
I started with a Classic WinForms application. However, the problem I ran into is that the Windows Media Player support just isn’t there to load .mp4 files anymore. So, I started to venture into Universal Windows Apps (UWP). However, I’m a web developer. I really haven’t used XAML in at least 5 or 6 years. So, this was a bit new for me.
I ran into several snags with setting up the application. One of the biggest snags I ran into was access to the file system. I mean, what’s wrong with:
1
File.ReadAllText(@"C:\Shows\status.txt");
Apparently, something. I quickly found out that I had to use new classes that are part of the Windows.Storage namespace to do something like:
1
2
3
var folder = await StorageFolder.GetFolderFromPathAsync(@"C:\Shows");
var file = await folder.GetFileAsync("status.txt");
var statusFile = await FileIO.ReadTextAsync(file);
But wait. Simply doing the above would lead me to the following error:
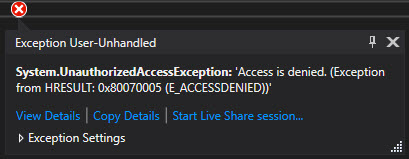
Great. Now what?
The instructions below assume that you've enabled Developer mode on your machine. If you have not, go to the Settings application on your computer and browse to Privacy & security and then For Developers. Then in the menu click the toggle under the Developer Mode.
Updating Application Capabilities
All is not lost. There is a namespace that you can add to your Package.appxmanifest file. Simply View Code on that file and update your capabilities as such:
1
2
3
4
5
6
7
8
9
<Package
  ...
  xmlns:rescap="http://schemas.microsoft.com/appx/manifest/foundation/windows10/restrictedcapabilities"
  IgnorableNamespaces="uap mp rescap">
...
  <Capabilities>
    ...
	<rescap:Capability Name="broadFileSystemAccess" />
  </Capabilities>
This brings in a new namespace and then adds a new capability called the broadFileSystemAccess. This isn’t the ideal or recommended method to add file system access. Microsoft tends to recommend using a FileOpenPicker() and saving the file for future application uses to lock the app down to just what it needs. In this case, this app is just for my personal use so I didn’t care to setup something like that. In fact, I remote into the machine frequently to do a system reboot. I wanted something I could trust as soon as I executed.
But wait. If we now hit F5, we’ll still get the same error. This is because we need to allow the app to have the access in the Settings app.
Update Settings
While the instructions here will show Windows 11 screenshots, the same basic process applies for Windows 10.
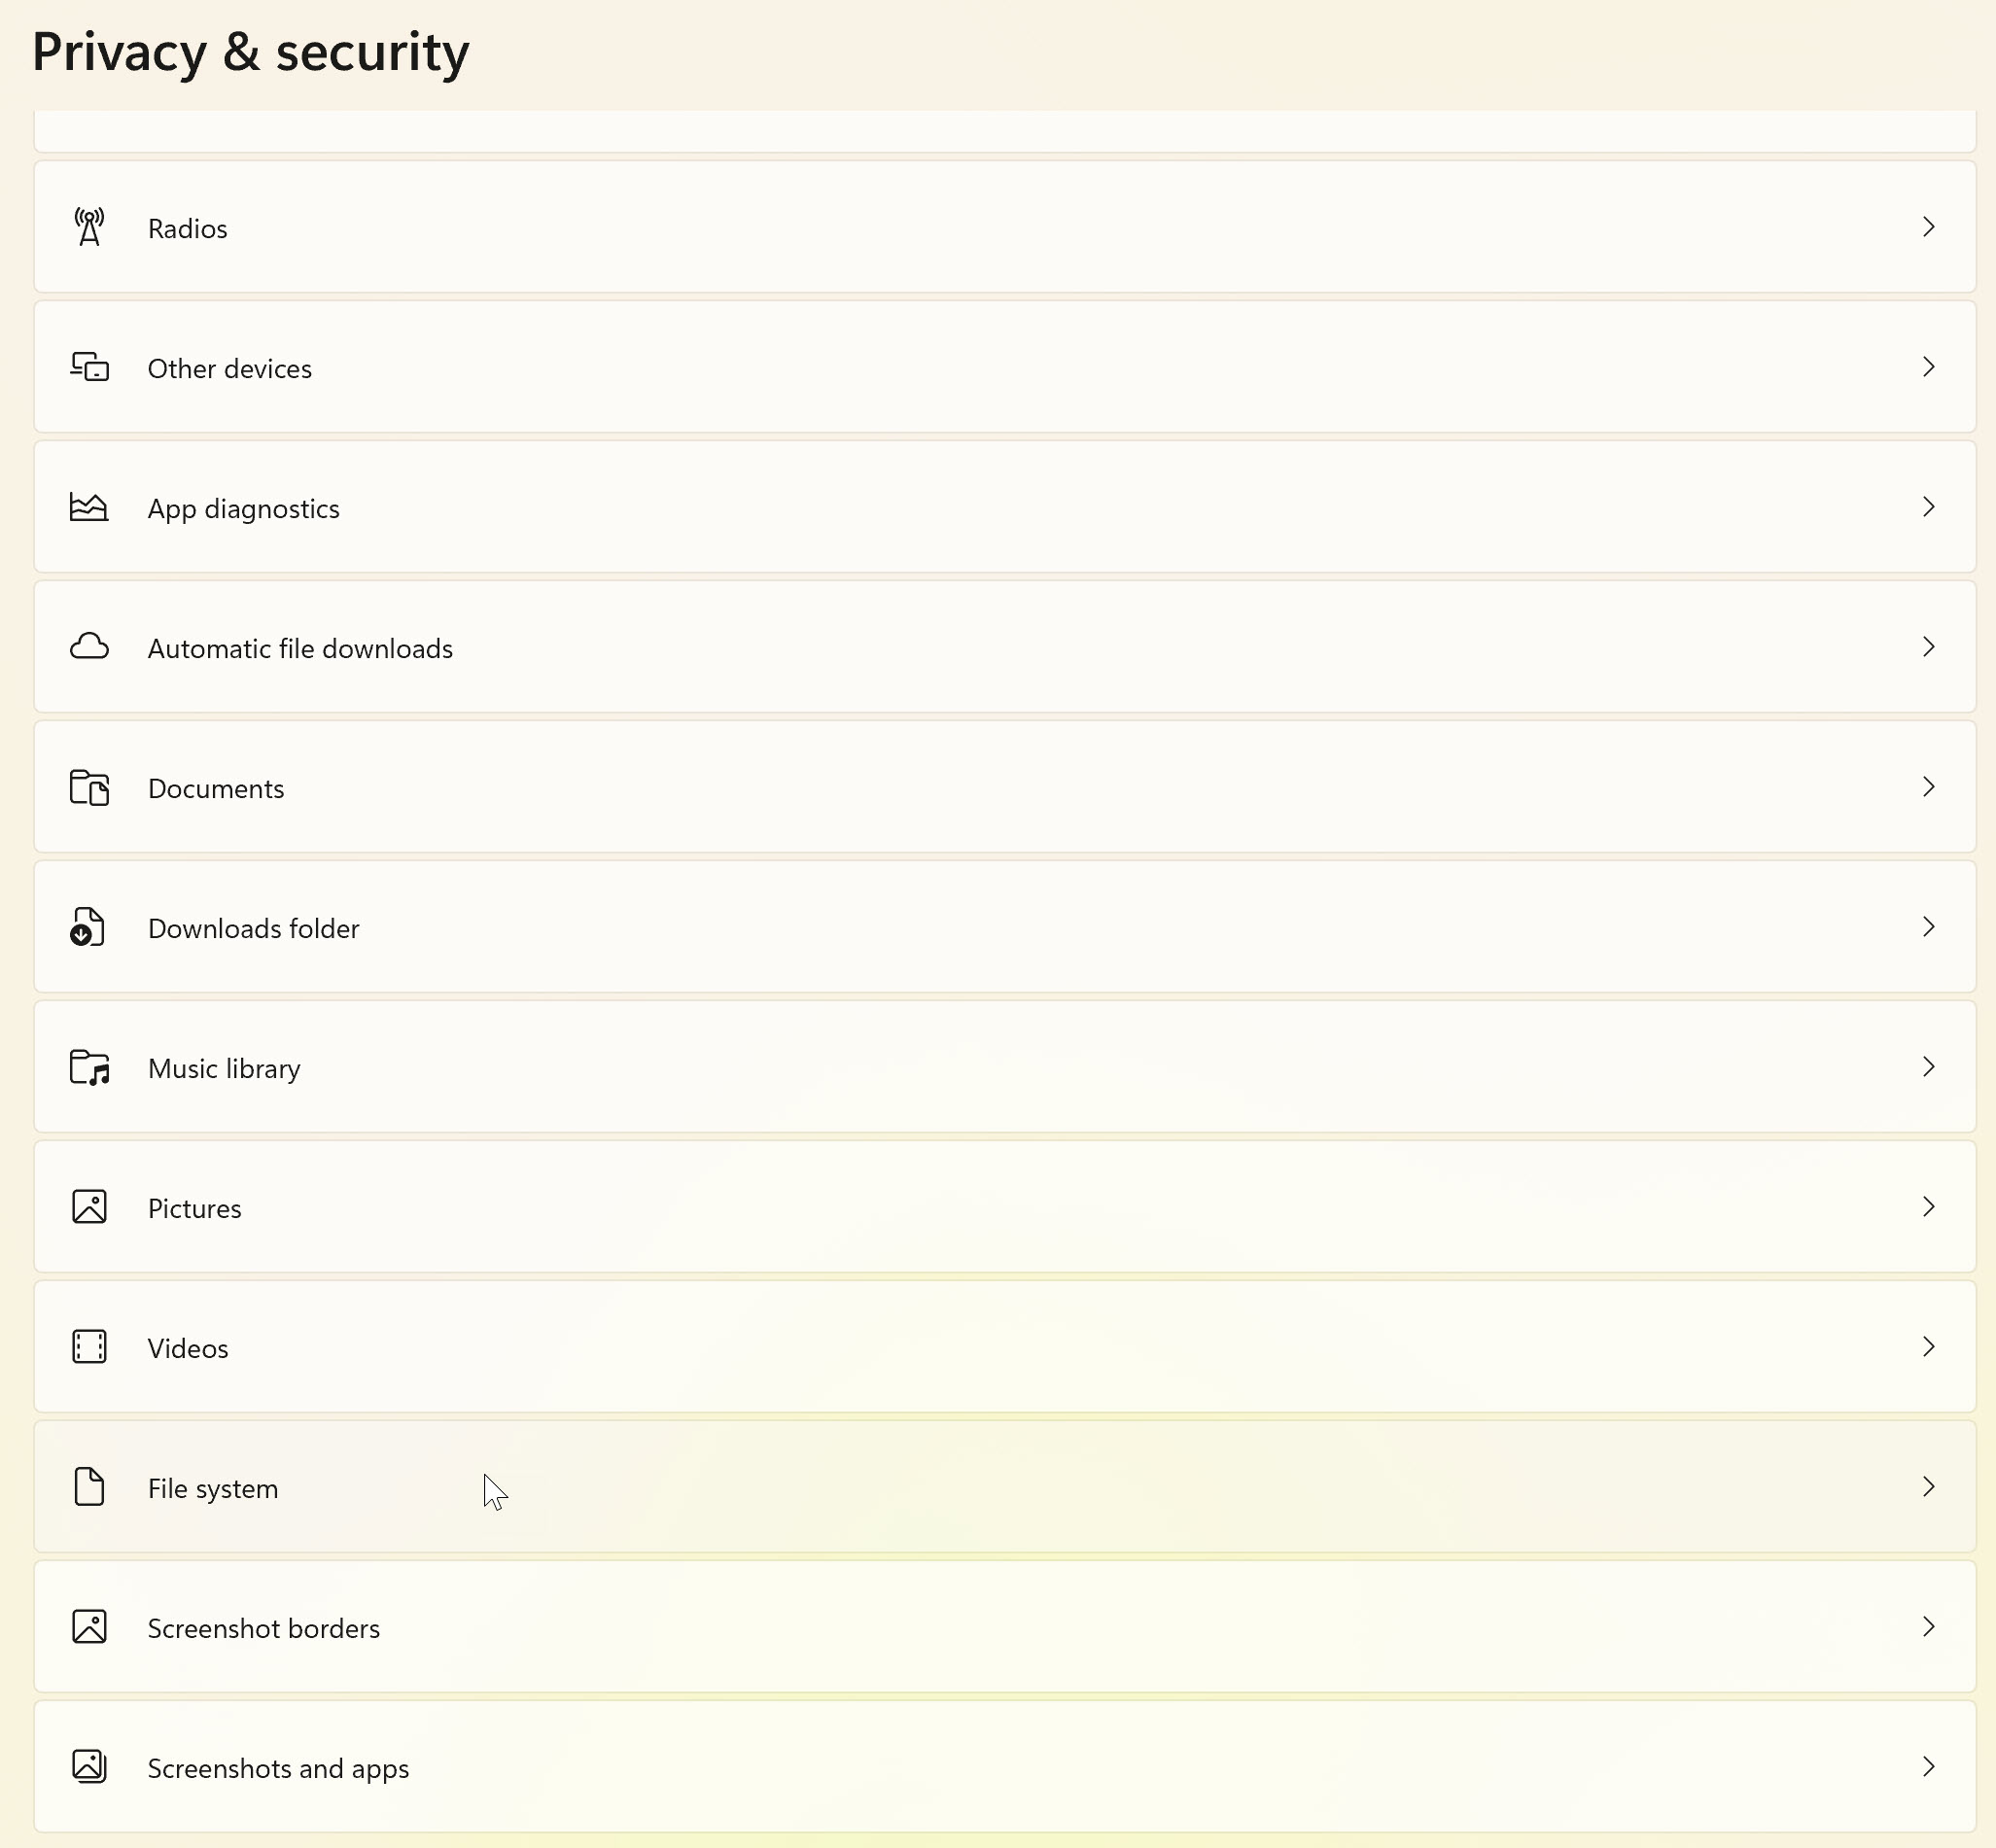
Go to the Settings app by searching for Settings or launching Settings from the Control Panel. From there, click on Privacy & Security (or Privacy in Windows 10) and then File system. In Windows 11, you’ll have to scroll a bit.
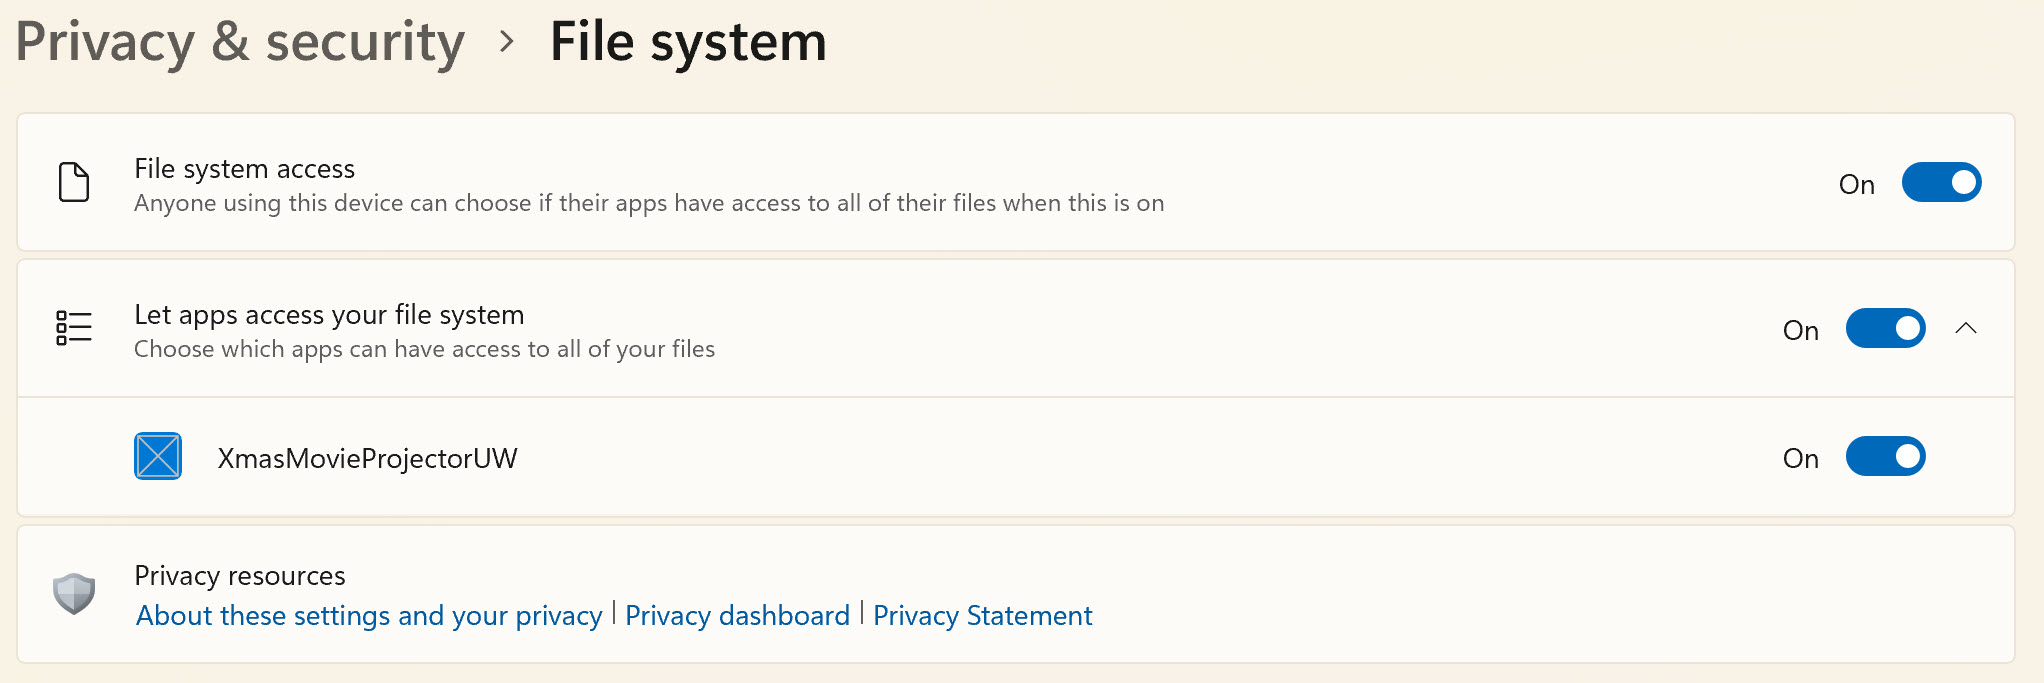
Once you click on the setting, you’ll then see a toggle to Let apps access your file system. Make sure you toggle that to On. If your application hasn’t executed, you may not see it as an installed app. However, if it has, click the toggle to enable access for your app as I have below:
Summary
Hopefully this quick little tutorial will save you some time. I wish I had found something like this to assist me in my development.