


Setting up a CDN using Azure Storage
Many websites today use a content delivery network (CDN) to serve static content to their users. This is because CDNs can cache and compress static content as well as providing geo-redundancy services. Microsoft Azure has CDN capabilities contained within its resource portfolio. In this article, we’ll want through configuring Azure to serve up CDN content from an Azure Storage account.
Tip: If you use a JavaScript SPA framework, such as VUE, React, or Angular, you may also use this solution to serve up your application and provide better performance at a lower cost point. In fact, many Microsoft authored articles now point to this as being a valid and recommended approach.
Step 1: Setup an Azure Storage Account
CDNs can point to numerous types of resources in Azure including an Azure Web App. However, if you’re serving up static content, it is recommended to use a storage account due to performance and costs. Before we setup our CDN, let’s go ahead and carve out our blob storage account.
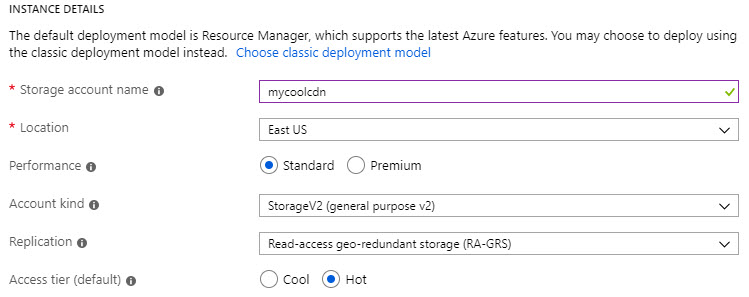
You may also want to enable soft delete for your blob storage account. You can do this on the next screen by enabling soft delete and playing with the slider to set the data protection window.

Once the blob storage is created, it’s time to create the CDN.
Step 2: Setup and Configure a CDN
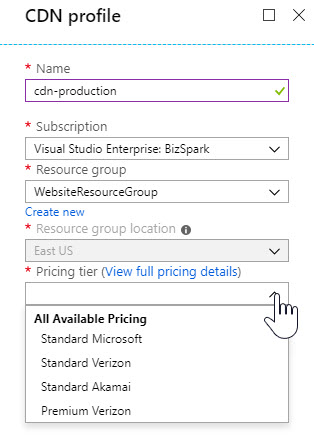
During the creation process, we’ll want to choose a CDN pricing tier. We can choose from Standard CDN accounts from Microsoft, Akamai, or Verizon. These accounts have a varied setup time. Akamai accounts are typically setup in around a minute. Microsoft accounts can take around ten minutes to be created. Verizon accounts may provision around 90 minutes. Verizon also has a premium option.
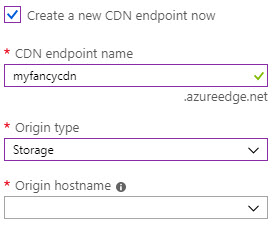
We’ll also want to check the box to create the CDN endpoint right away. We’ll enter a name, choose the Storage origin type, and choose the storage account we just created.
Step 3: Adding a Custom Domain to Our Endpoint
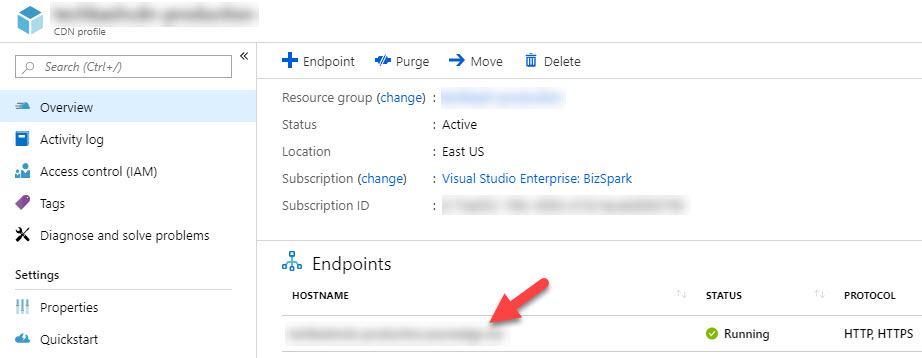
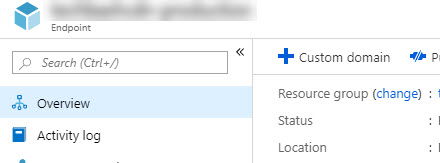
After our CDN is created, we’ll navigate to it. In the Overview window, we’ll see our new CDN profile with our endpoint running under both HTTP and HTTPS. We’ll want to add a new, custom domain to it. To do so, click on the hostname:
By doing so, we’re now in the endpoint configuration option. In here, we can setup compression, caching rules, geo-filtering and more. We’ll start by creating a new custom domain by clicking the link at the top of the overview window.
We’ll want to copy the name of the endpoint and create a CNAME record in DNS to point our new, custom domain to this endpoint.
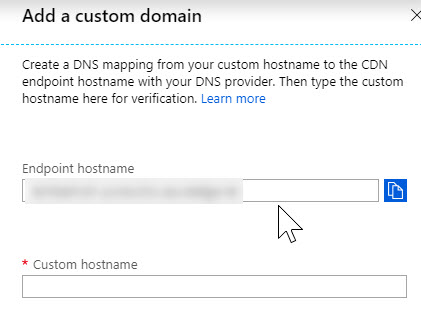
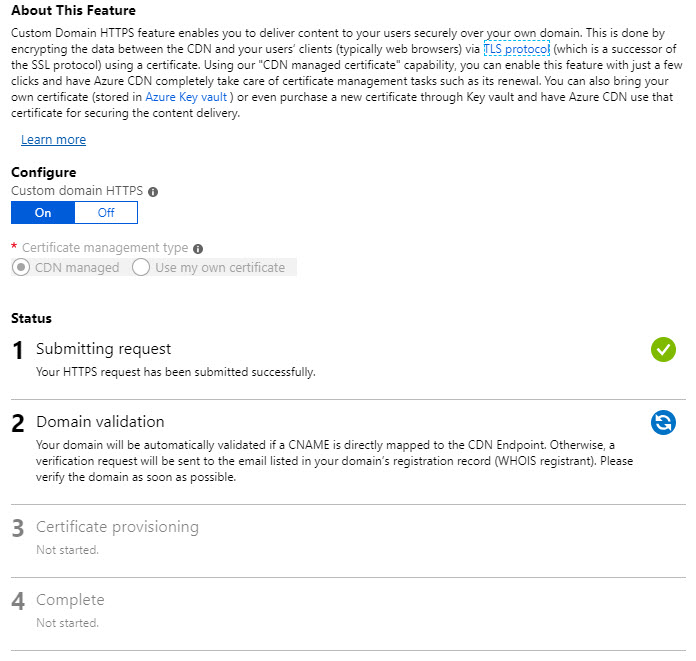
Once we have created our CNAME, we’ll come back to the endpoint, type our custom domain in the blade, and continue to associate our custom domain name with our CDN endpoint. Next, we’ll want to secure the custom domain by using SSL. Azure CDN has a managed certificate capability allowing easier use of a certificate. Of course, you can also bring your own.
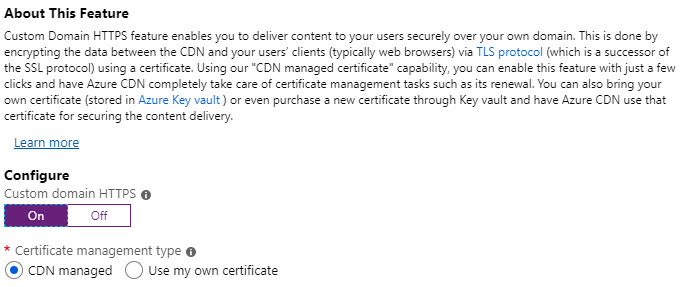
If you choose the CDN managed certificate process, it could take up to two hours for HTTPS to be verified and updated.
Summary
During this walk through, we created a Storage account, created a CDN, and added a custom domain to the endpoint for the CDN. Feel free to navigate through the other setting options under the CDN endpoint. For example, you may want to specify the origin original path if you do not want to allow the CDN to have access to the root of the Storage account but rather a sub-folder or path.