


Using an Azure Logic App to Broadcast an Article
Ten years ago when I was an avid blogger, I relied quite heavily on Feedburner to consume my RSS feed and distribute to subscribers. That worked, but social media wasn’t really a thing yet and readers relied quite heavily on feed readers for news. Today, most “subscribers” follow content using social media, such as Twitter or LinkedIn, or content aggregators, such as Reddit or Medium. So, when building my new blog, I thought about how I can best communicate posts that I make to others. Traditionally, I could use something like IFTTT or Zapier. Microsoft also has a competing product called Microsoft Flow. However, I may want to add some additional logic before communicating to the world. For this, I can use the product that power Microsoft Flow called an Azure Logic App.
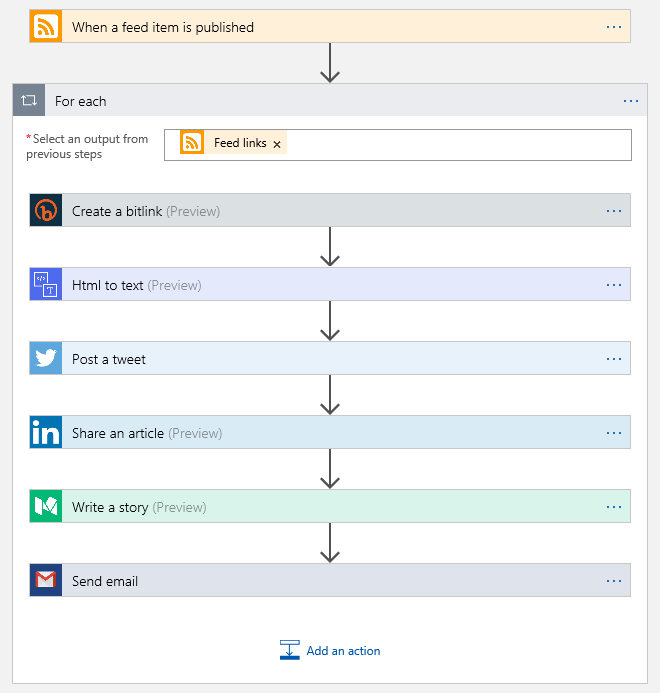 (above – an example of a Logic App design)
Azure Logic Apps are similar to Microsoft Flow in that they allow you to add an action using one of the pre-defined connectors to accomplish a task. The example I posted above reads the RSS feed contained within my blog. For each of the feed links it finds that has been added since the last time the app was executed, it will create a bit.ly link using my custom bit.ly domain as a short URL for the post, convert the post to plain text so the raw HTML isn’t carried over to Twitter or LinkedIn, then posts to Twitter, LinkedIn, and Medium before finally sending an email from my Gmail account back to myself summarizing the links at each of the social media locations.
Step 1: Create a new Logic App
The cost of the logic app that I have designed above will end up being around $3 per month (US cost). Start off by logging into the Azure portal, choosing to Create a Resource, and typing Logic App. The logic app icon appears like this:
![]()
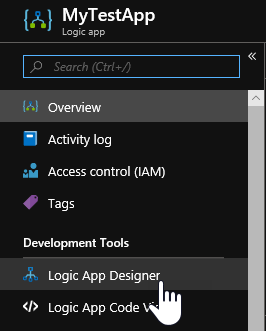
Name the logic app, choose a Resource Group, and continue. After it is created, you should be able to navigate to the Logic App and choose the menu option called the Logic App Designer located under the Development Tools menu grouping.
Step 2: Adding your source
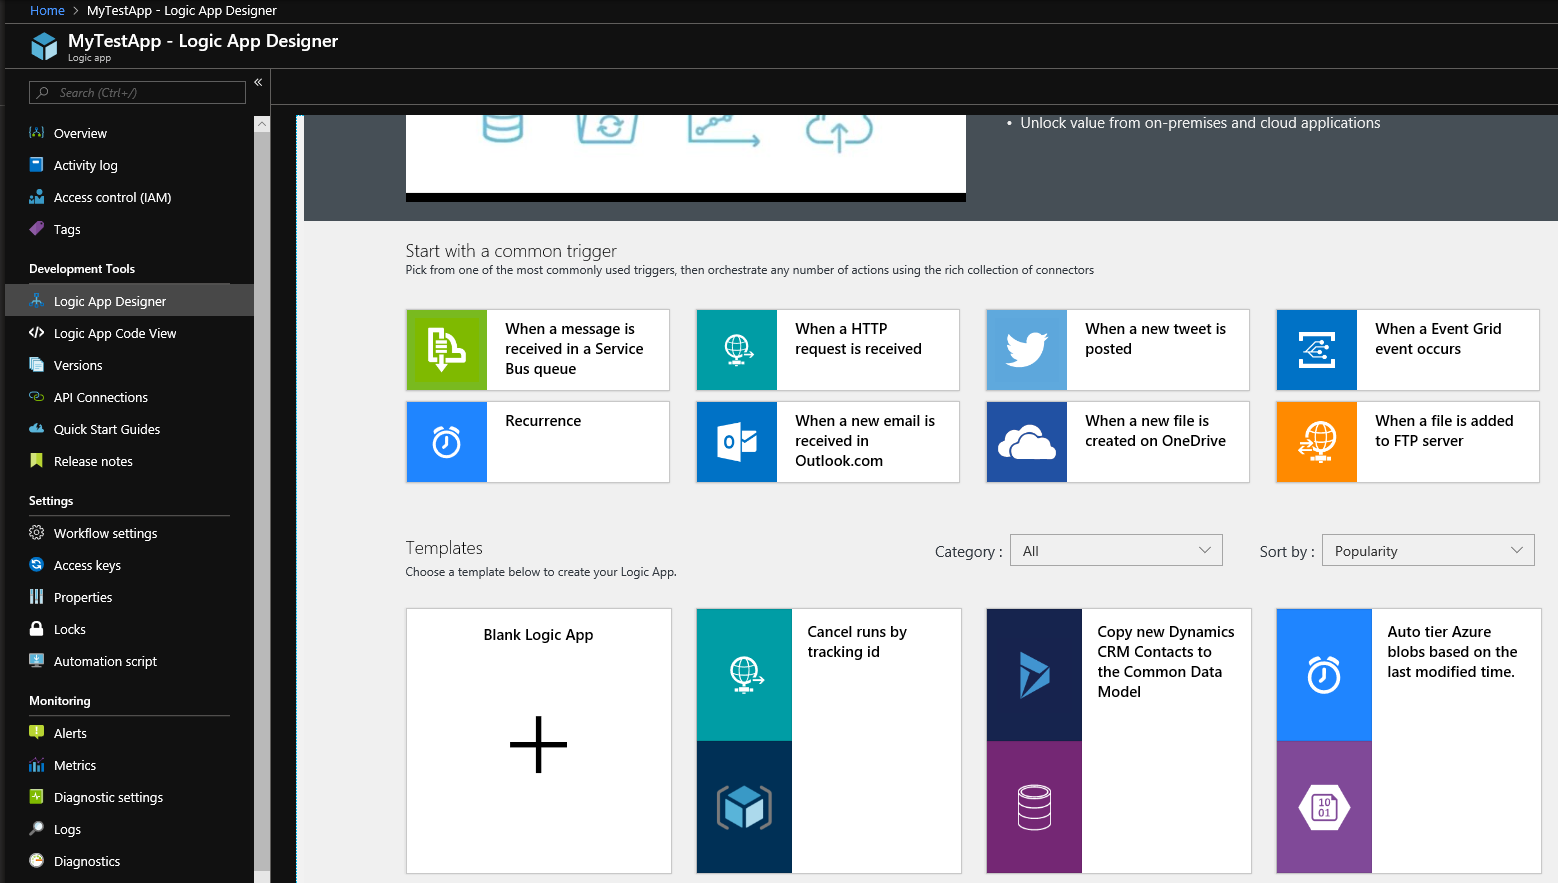
When the Logic App designer loads, you’ll notice that you can do all sorts of things such as Starting with a common trigger such as a predefined recurrence or starting with a predefined template. For this purpose, we’ll start with a Blank Logic App template.
After the template loads, you’ll be able to search for connectors and triggers. In the search box, type ‘RSS’. You’ll see an item appear under Triggers that reads ‘When a feed item is published.’
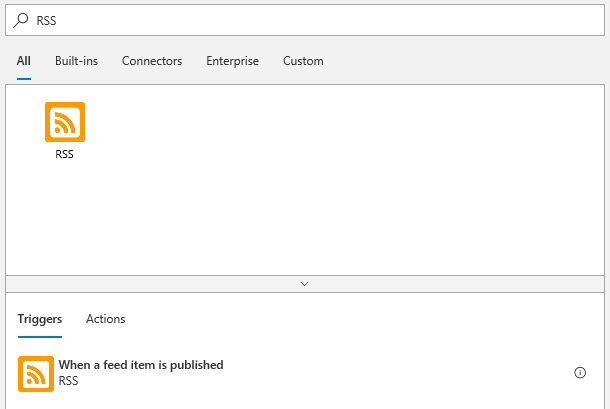
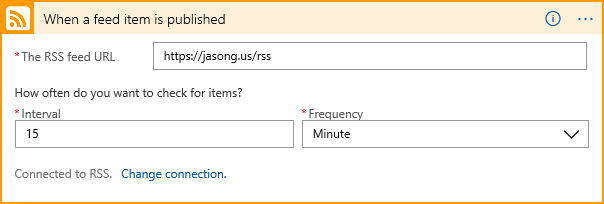
We’ll choose this. We can then add in our RSS feed URL and change the frequency of the new item check. Since this is an RSS feed, I’m likely not publishing new items more frequent then every 15 minutes, but I do want to publish to social media fairly frequently so I am going to set this at every 15 minutes.
Step 3: Create actions on each feed item
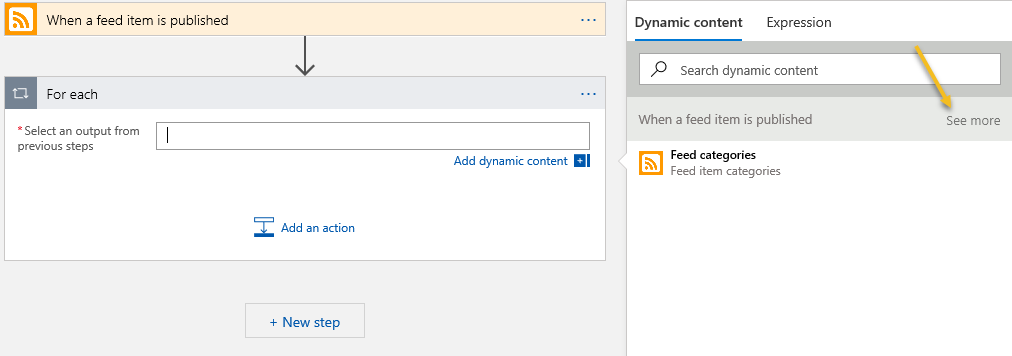
Now that we can connect, we’ll update our app by choosing a new action using the link below our trigger. In the search bar, enter ‘For each’. We’re going to add a loop through any RSS items posted in the past 15 minutes and perform a series of actions on each item. When we add the For each control, we’ll notice that there is a tooltip window that appears that contains Dynamic content. Within the Dynamic content view, choose the ‘See more’ link next to ‘When a feed item is published.’
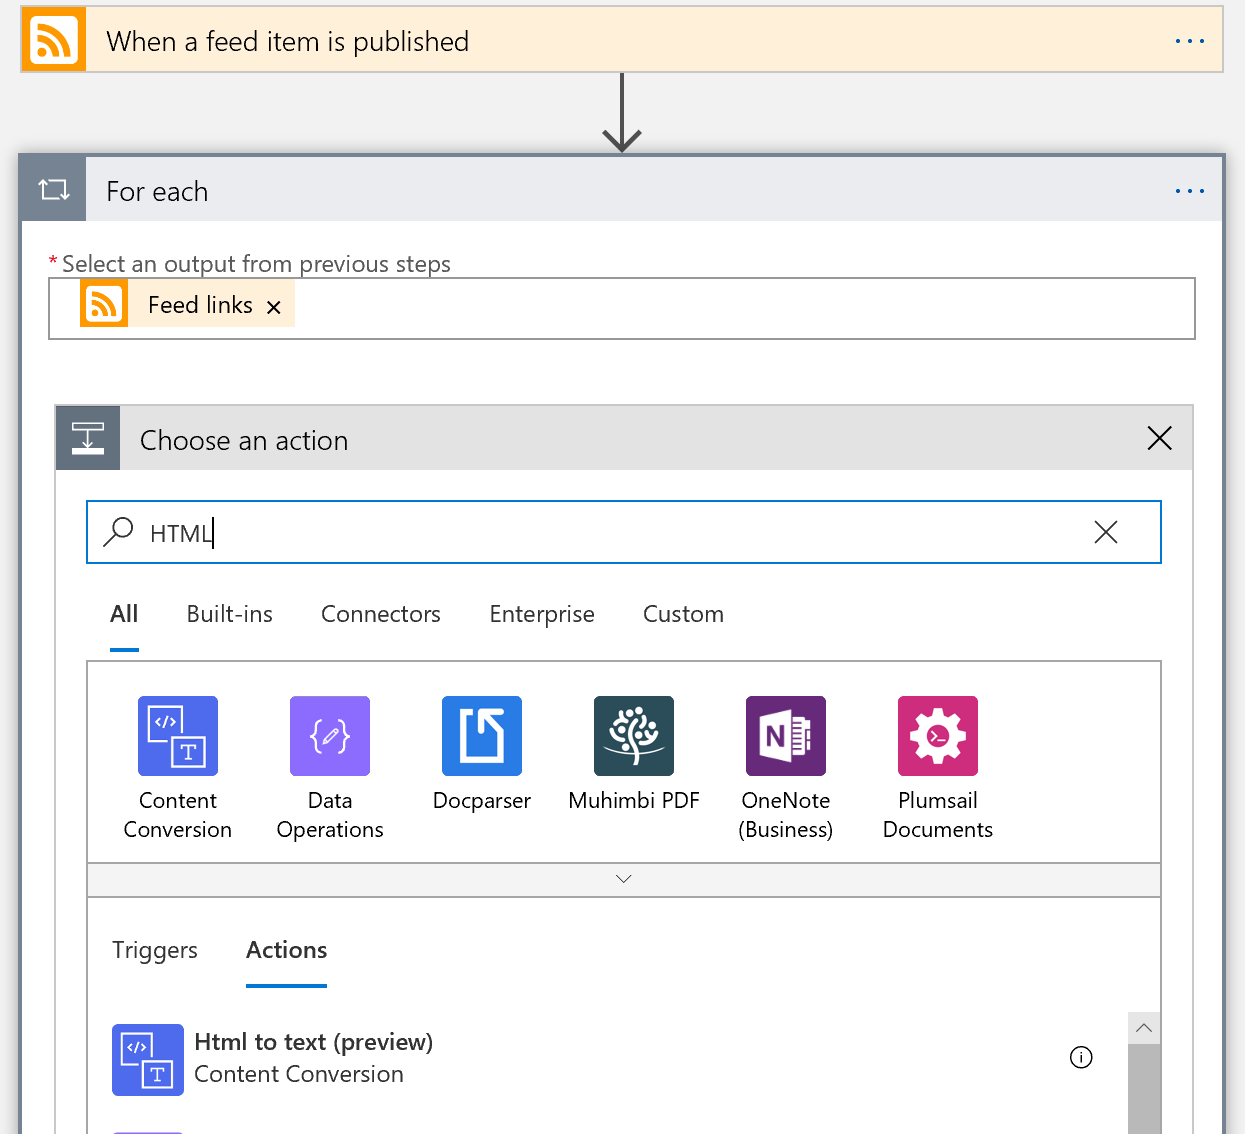
This allows us to see the option ‘Feed links’. Choose that option. Then, in the control itself, choose ‘Add an action.’ Then type in ‘HTML’ into the search box. Choose the HTML to Text option in the action window.
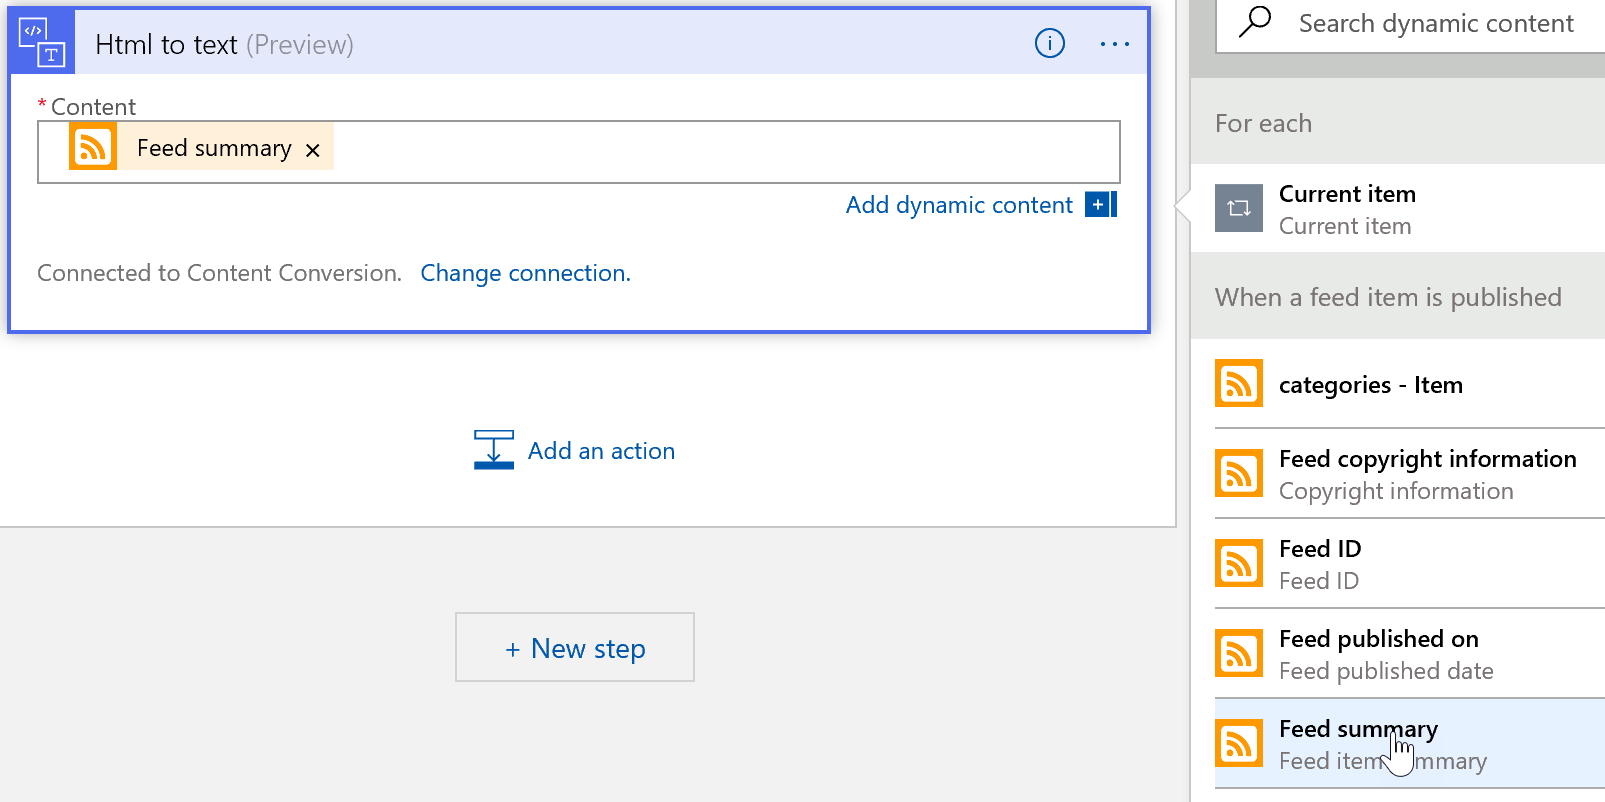
Then, click in the content window and choose the ‘Feed Summary’ field from the tooltip.
Then, we’re going to click ‘Add an Action’ button again. This time we’ll type in ‘Twitter’. Scroll until you find ‘Post a Tweet’ in the action window.
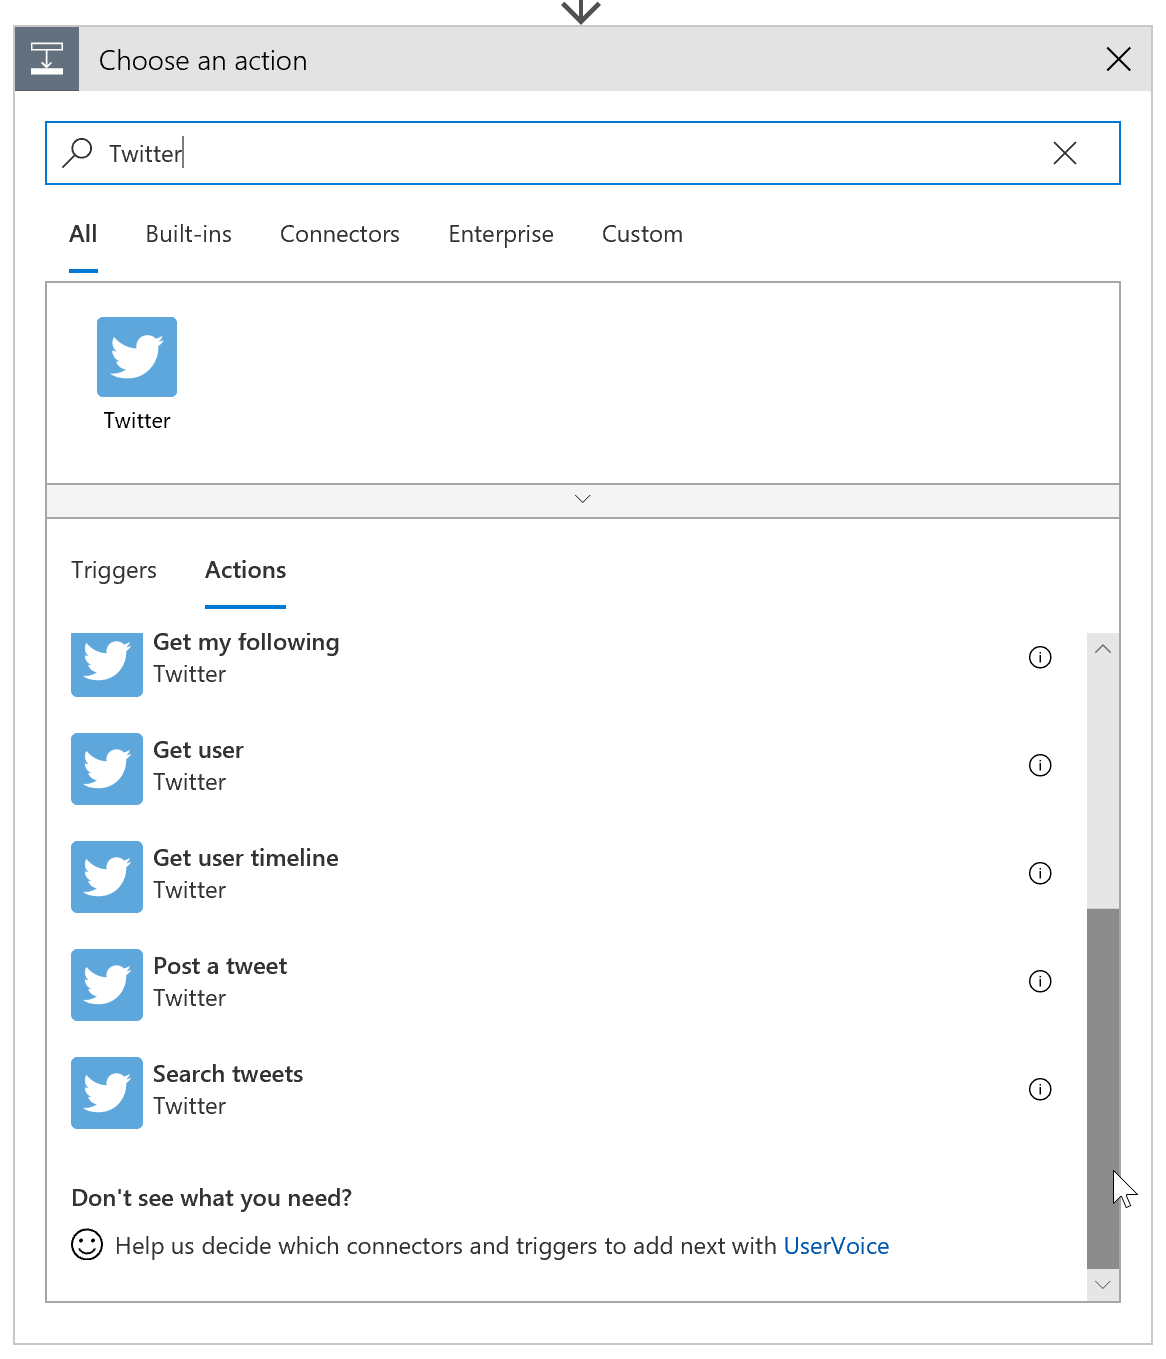
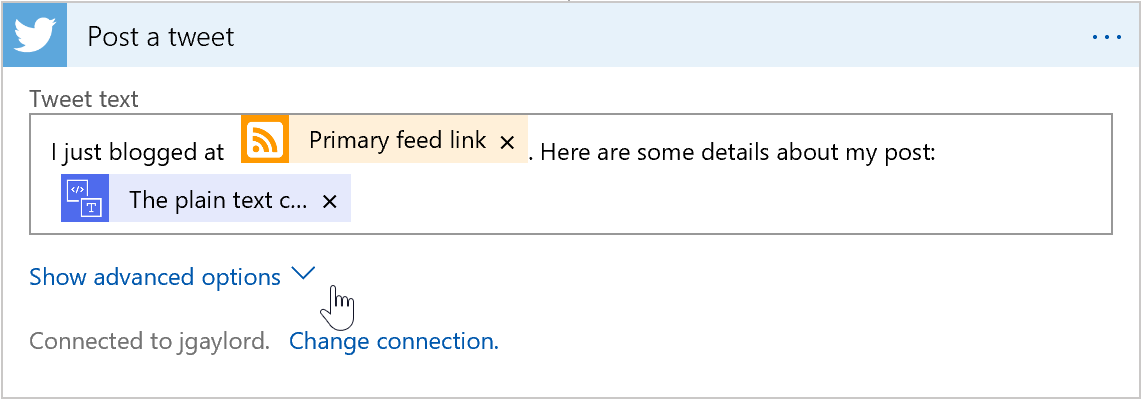
After you choose the ‘Post a tweet’ action, you’ll see a ‘Sign In’ button. Press to sign into Twitter, use your Twitter account to authenticate giving Microsoft Azure Logic Apps permissions, and then configure the Tweet message in a similar fashion to this:
Now that we’ve configured Twitter, we can repeat by clicking ‘Add an Action’ for the other services we may have such as LinkedIn, Facebook, Medium, and others.
Summary
We can use Logic App triggers and actions to create an application that can have a decision tree, repeater, and more without writing a single line of code. Since it’s serverless, we can scale our logic app by using a slider in Azure. While there are plenty of other ways you can post your latest blog posting to social media, Logic Apps definitely make it easier. I’d be interested to hear how you’re using Logic Apps to solve problems.